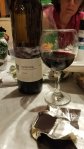
 We love hanging out around a fire…. Who doesn’t?
18 months ago we sold our little homestead and then moved here. We have worked hard at getting the basics set up for our present location… barn for the goats, small orchard in a quarter acre grazing area for our laying hens, garden spots, trellis and vines, etc…
Still more fencing to go, the itch to build a fire pit and special company coming for a weekend was all the impetus I needed to get serious. Here is how we did it.
The pit I envisioned will be part of an outdoor kitchen gazebo for hosting friends and family, but is nice as a stand-alone project and 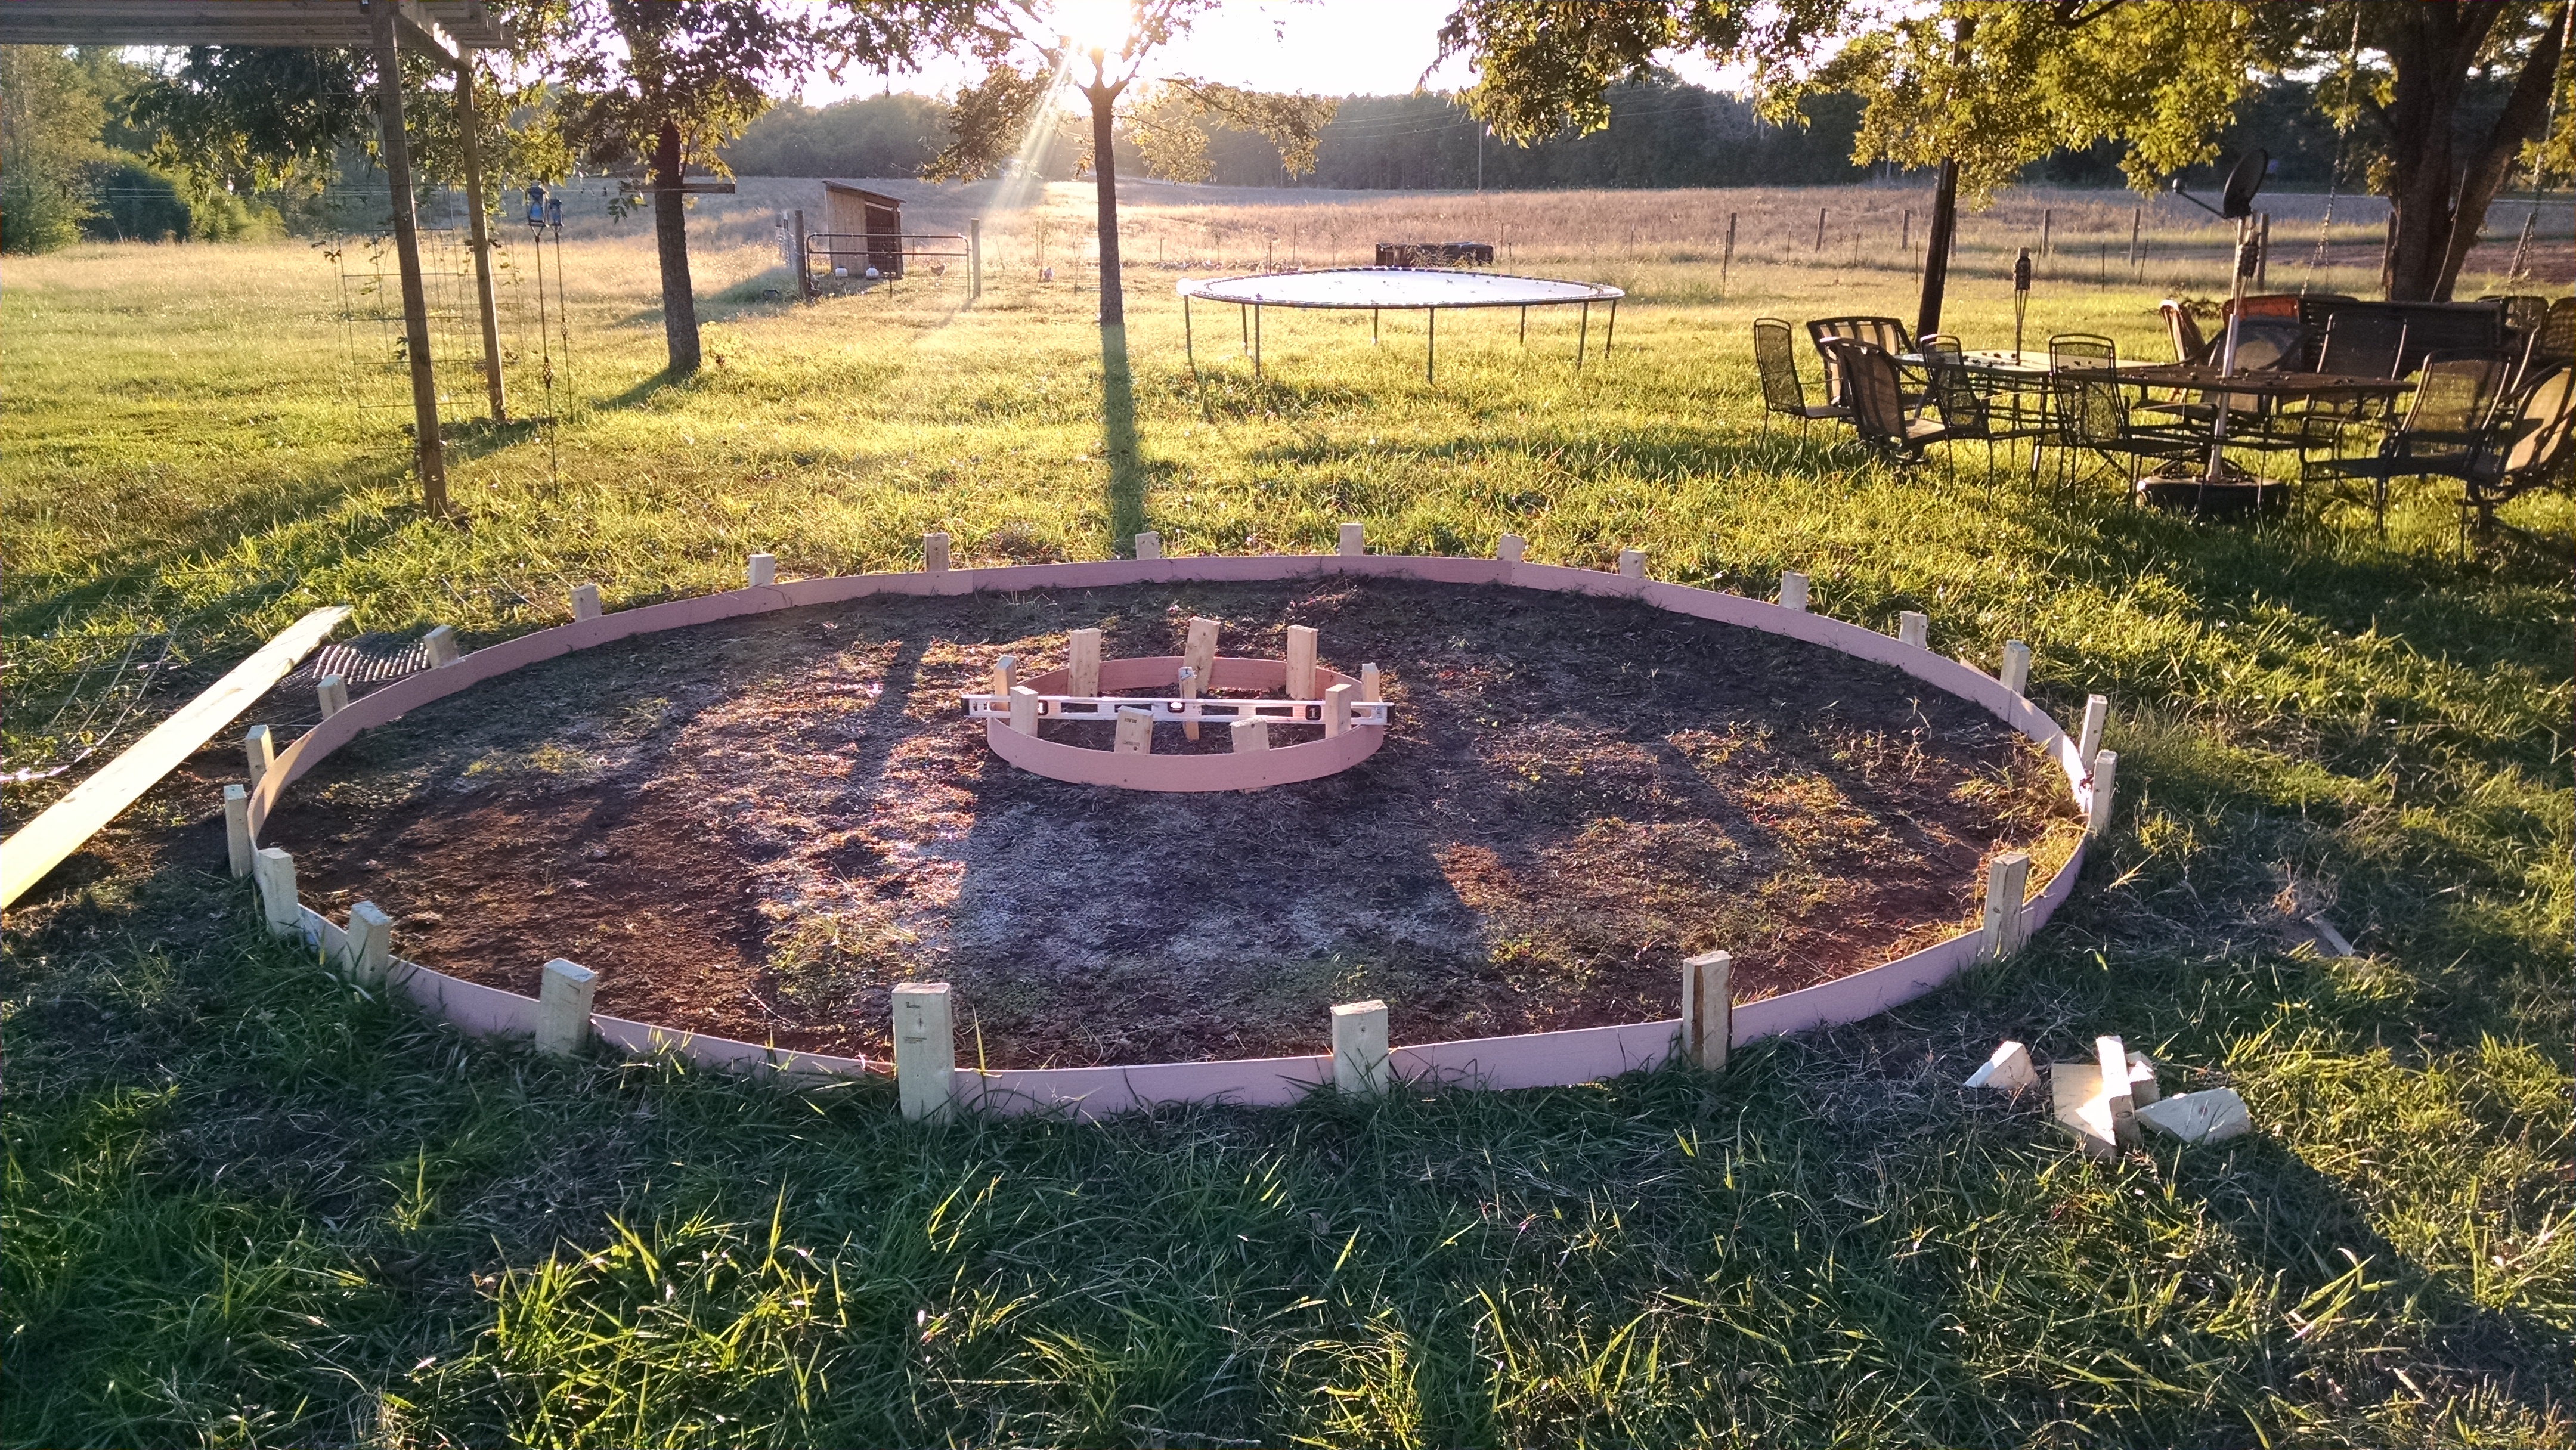 makes a good focal point for gathering. We leveled the ground and laid out the forms for concrete.
Because I wanted a circle, I chose 1/4″ luann plywood, cut into 4″ wide strips for my form. We drove a stake in the ground and measured an 8′ piece of string, then pulled it taut and drove 2 x 4 stakes into the ground every 3′ or so, then screwed the luan to the inside of the stakes. I chose to put a 44″ wide hole in the middle of the concrete circle for the pit itself so rain would drain onto the ground instead of leaking ash and soot out onto the patio area. That luann is on the outside of the stakes… I.e., a giant concrete doughnut!
 One thing to insure is that the area around the pit will be wide enough for comfortable seating and movement. Too narrow and the constant stepping off of the patio to move around someone will be irritating.
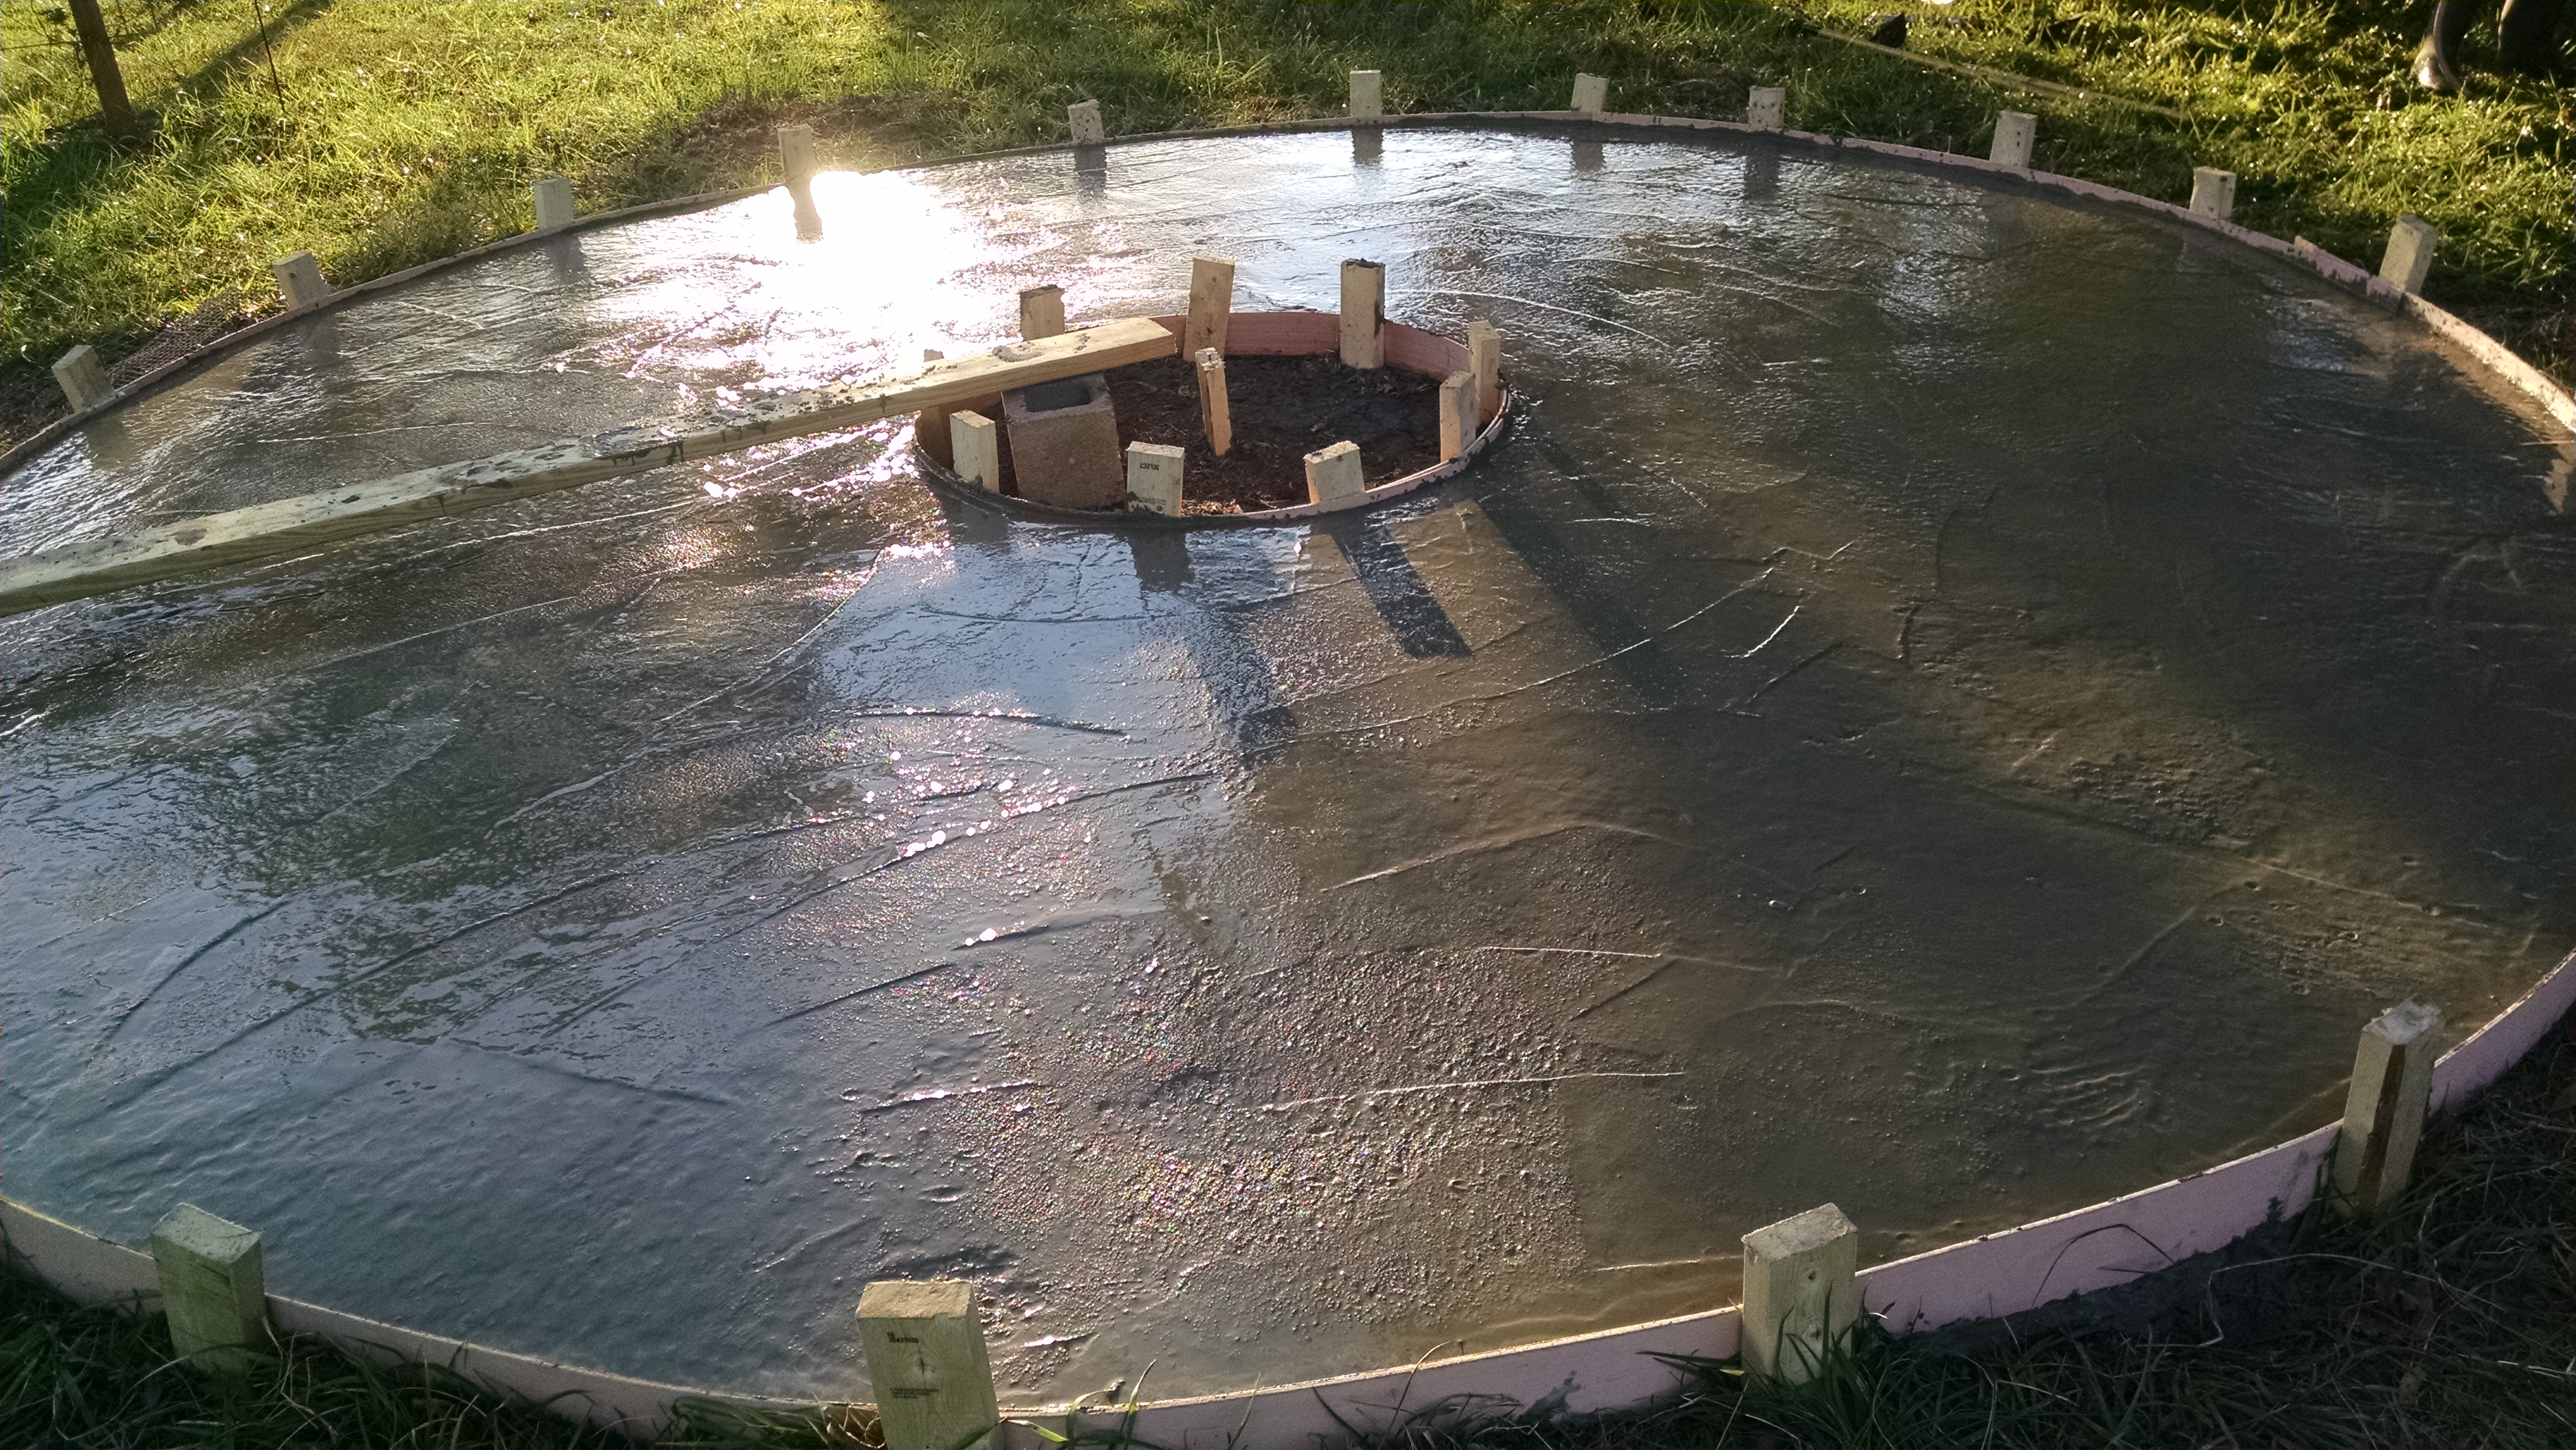
I figured how much concrete we needed for a 3.5″ pour. As I recall, for the 16′ diameter circle, minus the hole in the middle, was about 2.25 yards of concrete. I ordered fiber in the concrete and then got a little blessing… The truck got delayed several hours and the company knocked off the delivery charge and the cost of one yard!! (I had taken off work to meet the truck and the company sales guy felt bad….)
After troweling it fairly smooth – I wanted  texture to prevent slipping – we kept it moist for three days and stayed off of it. Then around day five I removed the forms and we went to Lowes and bought 50 brick and mortar mix for the pit. I laid three courses with mortar, however, they could be dry stacked…
I did have to cut a brick for each course to get the right fit. To cut the bricks, I used a cold chisel and just tapped a line around the brick (not the face side) several times until it snapped on the line I chiseled in.
Total cost came to about $450.
- Concrete $250
- 2×4 studs and 1 sheet of luann for forms $50
- 50 brick and mortar mix $150
- and, a few odds and ends…
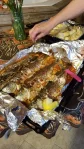
All-in-all, easy project that was very rewarding and enjoyed by all on its inaugural use.
Now to build a few Adirondack chairs…. Hmmmm…